The Lightning Network (LN) continues to push consumer payments forward; it feels like the critique, bitcoin isn’t money because I can’t buy coffee with it, has become somewhat of a “challenge accepted” moment, and while the achievement has been unlocked, detractors are still not happy. Previously bitcoin merchants only needed to generate a QR code for bitcoin or Lightning, and your coffee payment was settled, but now it’s gotten a little easier and fast.
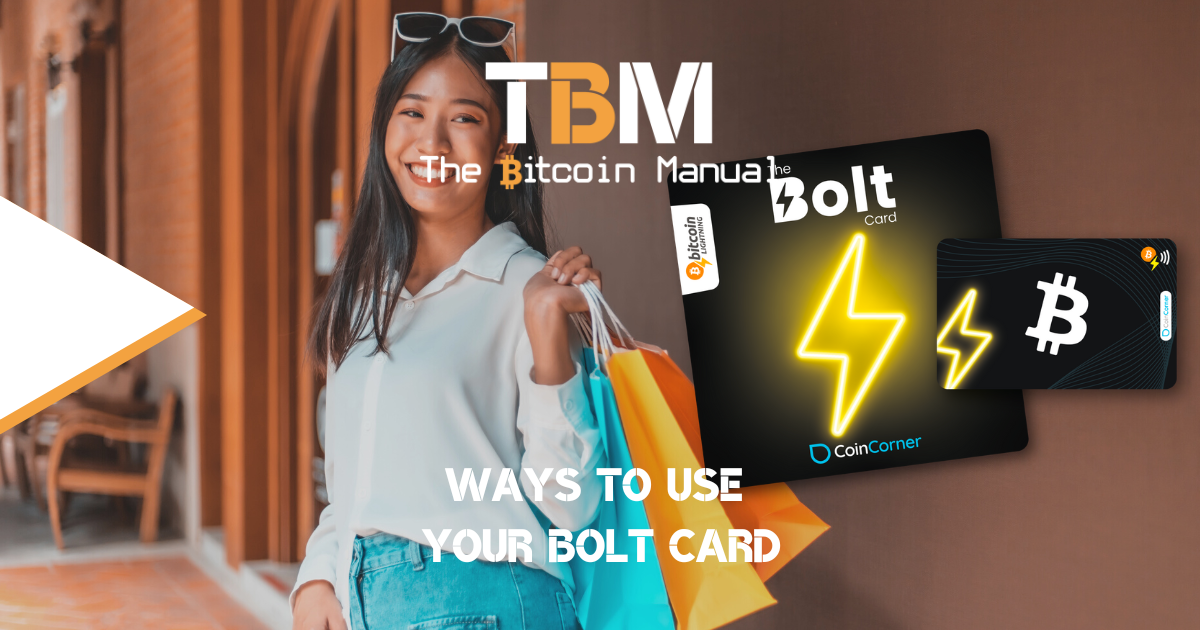
Using the Bolt Card, users can connect their preferred Lightning wallet to it and pay anyone who accepts Lightning and has an NFC device; this could be another smartphone or a POS system. The Bolt Card’s tap and pay system makes it easier than ever for users to settle transactions at ultra-low fees and purchase goods and services using contactless technology.
Now, if this all sounds good to you, but you’re wondering what the catch is, is it a pain to set up, or if this is all too gimmicky for you, we’ll take you through the entire process of setup, and you can decide for yourself if this card is worth stuffing in your wallet.
Connecting with a CoinCorner account
The easiest way to operate your Bolt Card would be to connect it to your CoinCorner account. Once you have the card, log in to your CoinCorner account via the mobile app, and you can set it up either as a debit card or as a gift card.
In either case, CoinCorner will manage your balances; you will have to deposit funds with them either in fiat, bitcoin or Lightning and then allocate those funds to your card.
Setting up a debit card
- Login to app
- Navigate to “Cards” -> “The Bolt Card”
- Click “Setup” and follow the instructions
Note: A card set up as a gift card can be re-used; you can always add amounts to the card whenever you like and continue to use it as a gift card. Any gift card that has been used can later be set up as a debit card linked to any CoinCorner account. Just run through the usual setup process to do this. Once a card has been set up as a debit card, however, it is not currently possible for this to be wiped and set up as a gift card.
Setting up a gift card
- Login to app
- Navigate to “Cards” -> “Gift Cards”
- Click “Setup” and follow the instructions
Writing directly to the Bolt Card
If you don’t have a CoinCorner account or don’t plan to use a custodial service to manage your card, but you want to create a gift card either to try it out, make a single payment or hand over a card preloaded with funds to a friend, the easiest way to do it would be to use a Lightning Airdrop app like LN.Cash, Laisee or LN.Gifts and an NFC writing application.
Once you have the bolt card ready, follow these steps:
Creating a claim drop
- Head over to LN cash in your browser
- Create a claim drop, once you have the QR code and LN-URL
- Copy the Withdraw LN-URL
Writing to the card
- Download an NFC writing app on your mobile device; an app like “NFC tools” should work.
- Select the “write” option
- Select add a record
- Choose a custom URL/URL
- Type in “lightning:” then paste the LN-URL
- Press “Ok”
- Then click “write.”
- Hold the card close to your device.
- It should give you a notification once the LN-URL has been written to the card
Test or redeem
Now that the funds are on your card, you can open up any Lightning mobile wallet that has the NFC option, select the NFC payment and hold the card close to your device. You should activate a request to receive funds. If you want to complete the transaction, click accept, or if you want to test, decline the payment for now.
As a gift card, you have no control over how you allocate those funds, so the full amount will be paid when you click accept.
If our instructions aren’t your cup of tea and you prefer someone to coach you through it, or perhaps you’d like a tutorial on the process, then we recommend checking out this guide by BTC sessions.
The Bolt Card app
If you’re an Android user, you can download and run the Bolt Card app, which allows you to write directly to the Bolt Card with an easy-to-use interface.
To get started with the Bolt Card App, you need to follow these steps
- Install the Bolt Card server and acquire some blank NTAG424DNA tags.
- When the app has loaded, go to the write screen and put your lnurlw domain and path into the text box.
- When finished, tap a card on the NFC scanner to write the card.
- Go to the read screen and check that your URL looks correct. Should also be outputting the PICC and CMAC as URL parameters
- To change your keys (to prevent malicious re-writing of your card), Go to the Bolt Card server terminal and run the command to show the card key change URL in QR code form and then scan this with the phone camera to load the server keys.
- When the keys are loaded, Hold the NFC card to the phone to run the key change on the card. Do not move the card until the key change has been completed. Warning! If you lose the new keys, then you will be unable to reprogram the card again.
Connecting with your Lightning node
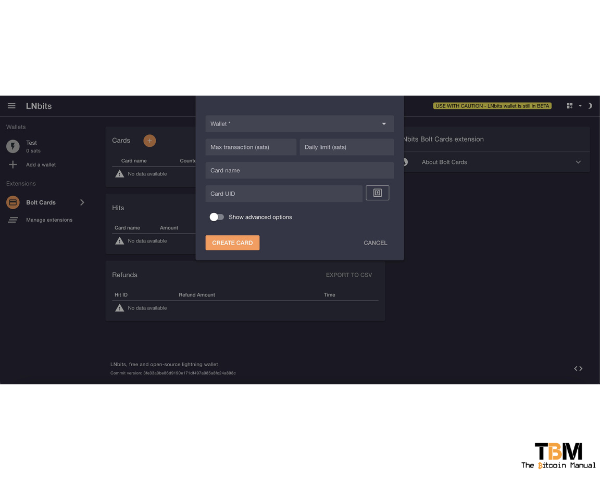
If you want to take a more hands-on approach to your card usage, you can connect your Bolt card directly to your Lightning node using the LN Bits service. If you don’t have it set up on your Lightning node already, download LN Bits and install it. Then set up an LN Bits wallet that will communicate via your Lightning node.

Once that’s all set up, head over to the extensions section and enable Bolt Card.
- Then click the + icon to add a card
- Select which wallet on your node it should use
- Give the card a name
- Add your spending limit and daily limit
- Add the Card UID
- Then click “Create”

You will then need to write this information to the card, either by using an NFC writing tool or an application like the Bolt Card app. If you have an NFC reader and writer attached to your desktop device, it can make the process a lot easier. Alternatively, you’ll have to conduct the entire process from managing your node, setting up the card and writing the information all from your mobile device.
Start spending your sats
There you have it, all the ways you can set up your Bolt Card, and we’re pretty sure more will be on the way as more wallets, platforms, and service providers tap into the technology (pardon the pun). Now you can pick the method that suits you best and start conducting bitcoin settled purchases with friends, family or supporting merchants.
Sources:
If you want to learn more about the bolt card, we suggest the following resources be added to your research as you dive down the rabbit hole.
Are you a Bitcoin and Lightning fan?
Have you been using Lightning to make micro-payments? Stream sats or engage with apps? Which app is your favourite? Have you tried all the forms of Lightning payments? Which one do you prefer? Do you have a Bolt Card? How have you been using it?
Let us know in the comments down below.


